Planning your dream kitchen is exciting—but also overwhelming without the right tools. This is where a kitchen visualiser (or kitchen visualizer) steps in. Whether you’re working on a full renovation or just replacing cabinets, a kitchen visualiser tool allows you to design your kitchen with precision, creativity, and ease.
In this guide, we’ll walk you through how to use an online kitchen planner effectively, while highlighting tips to make the most out of 3D kitchen visualisers, virtual design tools, and kitchen layout visualisers—especially if you’re doing it for the first time.
What Is a Kitchen Visualiser?
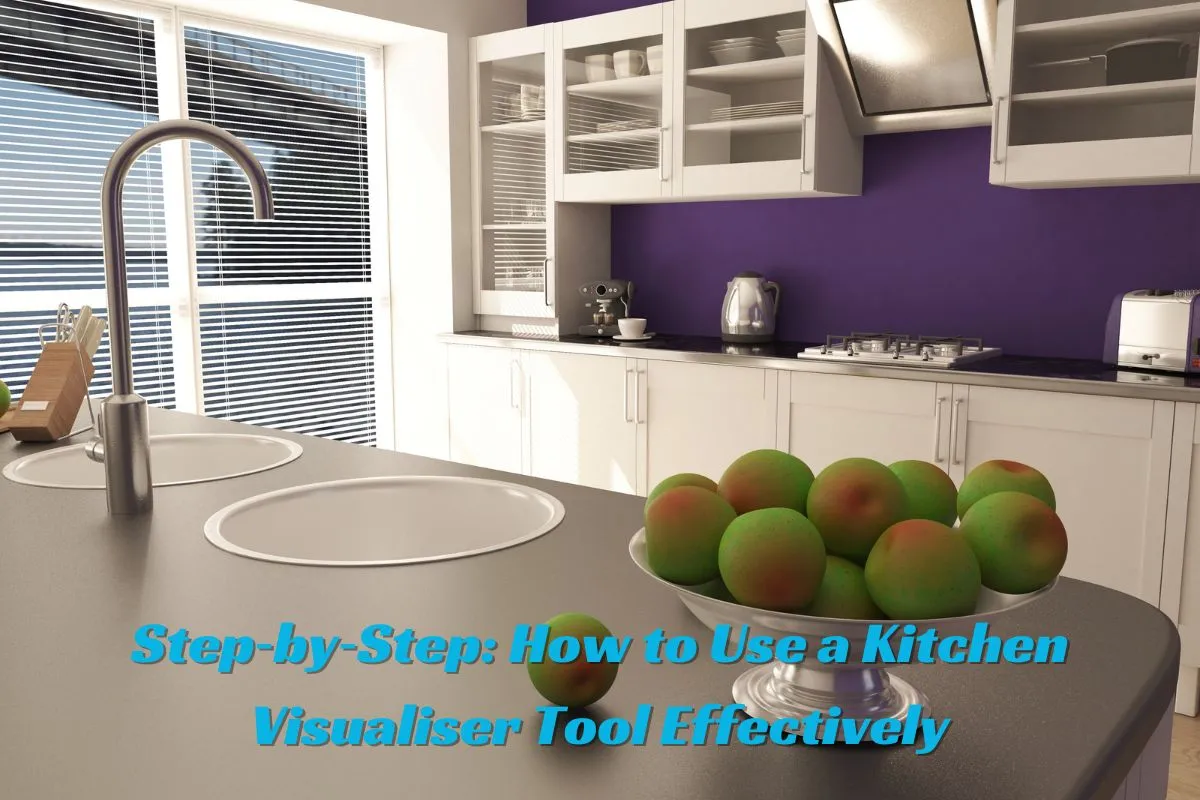
A kitchen visualiser is a digital platform or virtual kitchen design tool that allows you to experiment with design elements such as cabinets, countertops, backsplashes, and flooring. It provides realistic rendering tools so you can see your kitchen come to life—before making any expensive decisions.
Most tools today offer features like:
-
3D kitchen previews
-
Cabinet finish previews
-
Mix and match material options
-
Save kitchen designs to revisit or share with installers
Whether it’s a free kitchen visualiser or a premium one integrated into a kitchen design visualiser app, the goal remains the same: to help you design smarter and better.
Step 1: Choose the Right Kitchen Visualiser Tool
Not all kitchen visualiser software is created equal. Some are basic with static images, while others are interactive and immersive with layout comparison sliders, design collaboration features, and AI-powered customization.
Look for:
-
3D kitchen visualiser capabilities
-
A virtual showroom experience
-
The ability to customize kitchen layout
-
Options to export or share your design with installers
Top Tools: Some popular options include Magnet Kitchens Visualiser, IKEA Kitchen Planner, B&Q’s Room Visualiser, and Howdens Kitchen Visualiser.
Step 2: Start with Layout and Floor Plan
Once you’ve selected a tool, begin by choosing a kitchen layout visualiser template or starting from scratch. You’ll likely be prompted to:
-
Choose room shape (L‑shaped, U‑shaped, galley, island layout)
-
Input room dimensions
-
Position doors, windows, and walls
This step is crucial in ensuring your design works within the physical limitations of your space. If your chosen tool offers AI kitchen visualiser features, it may auto-adjust elements to optimize spacing.
Step 3: Customize Cabinetry and Storage
Cabinets make a huge visual and functional impact. Navigate to the cabinet visualiser section and start testing options. This is where you can:
-
Change the style (shaker, slab, handleless, etc.)
-
Pick cabinet finish previews (woodgrain, gloss, matte, etc.)
-
Test colour palettes (white, navy, sage, etc.)
-
Adjust sizes and placements
Many tools offer interactive kitchen visualiser features where cabinet finishes respond to lighting changes or material textures.
Pro Tip: Keep your body shape and height in mind when placing wall cabinets. Also, leave room for tall appliances.
Step 4: Explore Worktops and Backsplash Options
The best kitchen design visualiser apps allow for mix and match of worktop materials and backsplash finishes. Here’s where creativity meets practicality:
-
Test countertop material selection like quartz, laminate, granite, or butcher block
-
Preview backsplash tiles in marble, subway, glass, or mosaic styles
-
Adjust grout color and tile pattern for a cohesive look
Use the realistic rendering tool to see how light hits each surface. And remember—contrast adds depth; matching adds uniformity.
Step 5: Add Appliances and Fixtures
Use your virtual kitchen design tool to experiment with appliance placement. Ensure that your layout respects the work triangle: the space between the stove, sink, and fridge.
Features to look for:
-
Drag-and-drop appliance placement planning
-
Choose sink types (undermount, farmhouse, top-mount)
-
Swap out taps and handles for styling harmony
Try integrating modern appliances like built-in ovens or downdraft cooktops if the tool allows it.
Step 6: Choose Flooring, Lighting & Wall Colours
These finishing touches tie your design together. In the kitchen visualisation online stage, make sure to:
-
Choose flooring (vinyl, hardwood, tiles)
-
Test wall paint colours
-
Add ambient, task, and accent lighting
Your online kitchen planner should let you toggle between finishes and simulate natural or artificial light, helping you create a cohesive and polished design.
Step 7: Save, Export & Share Your Kitchen Design
After finalizing your design, use the save kitchen designs function. This often allows you to:
-
Download a PDF or image of your layout
-
Share with contractors or installers
-
Get cost estimates from suppliers
Some tools even support installer sharing options, letting your builder view specs in real time.
Benefits of Using a Kitchen Visualiser Tool
✅ Accuracy: Eliminate guesswork
✅ Customization: Tailor every inch of your space
✅ Visualization: Understand how different materials look together
✅ Convenience: Plan from home, at your pace
✅ Confidence: Make decisions with clarity
Mistakes to Avoid
❌ Ignoring natural lighting when selecting colours
❌ Placing appliances without measuring clearance space
❌ Forgetting to save design iterations
❌ Chasing trends blindly without checking practicality
❌ Skipping the user guide or tutorial (especially for first-timers)
Final Thoughts
A kitchen visualiser tool is one of the smartest ways to plan your renovation. It allows you to design, preview, and refine ideas in real time—all from your browser or smartphone. Whether you’re a DIYer or working with professionals, understanding how to use a virtual kitchen design tool can save time, money, and stress.
So, don’t just dream about your future kitchen—design your kitchen confidently with a tool that’s as creative as you are.


