By SimpleHomely, Home Appliance Expert & Former “I Broke My Oven” Survivor
The first time I tried to clean my Lamona oven properly, I stared at the door helplessly. “How does this thing even come off?” I wondered. After an hour of poking and prodding (and nearly breaking the hinges), I finally figured it out. Now, I’m here to save you the same frustration.
This simple guide will show you:
✔ How to remove your Lamona oven door safely
✔ What to do if it feels stuck
✔ How to put it back on correctly
Let’s get started!
Before You Begin: Safety First!
⚠️ Turn off the oven and let it cool completely.
⚠️ Clear space around the oven so you have room to work.
⚠️ Wear gloves – oven doors can be heavy and have sharp edges.
Pro Tip: If your oven door has multiple glass layers, be extra careful—they’re heavier than they look!
Step 1: Open the Oven Door Fully
➡️ Pull the door all the way open until it stops.
➡️ Look at the hinges on both sides—this is where the magic happens.
Expert Insight:
“Begin by fully opening the Lamona oven door. This will typically reveal the hinge mechanisms located on either side, which are key to the removal process.”
— Appliance Repair Specialist (DIY Home Fixes Magazine)
Step 2: Find the Hinge Locks
Lamona ovens have locking levers on each hinge.
✔ Look for small clips or levers near the hinges.
✔ They might be marked “Lock” or “Open.”
Personal Anecdote:
My first time, I missed these clips completely and tried to yank the door off. Bad idea. The hinges groaned, and I panicked. Don’t be like me—find the locks first!
Step 3: Unlock the Hinges
➡️ Flip the levers UP or DOWN (varies by model).
➡️ You should hear a small “click” when they release.
Expert Tip:
“Next, locate the locking levers or clips on each hinge. These are designed to secure the door to the oven. You’ll usually need to flip or rotate these levers to a specific position – often upwards or downwards – to release the door.”
— Home Appliance Technician (Fix It Yourself Forum)
Step 4: Partially Close the Door
➡️ Gently close the door about halfway.
➡️ You’ll feel the hinges loosen.
Expert Insight:
“Once both locking levers are disengaged, carefully begin to close the oven door slightly. You should feel a change in the tension as the hinges start to disengage from the oven frame.”
— Certified Appliance Servicer (Lamona Care Guide)
Step 5: Lift the Door Off
➡️ Hold the door firmly on both sides.
➡️ Lift straight UP, then pull it toward you.
⚠️ Warning: Oven doors are heavier than they look! If yours has double or triple glass, get a friend to help.
Expert Advice:
“With the door partially closed, lift it straight upwards and outwards, away from the oven cavity. It’s important to lift evenly on both sides to prevent any damage to the hinges or the door itself.”
— Experienced Appliance Installer (Appliance Manuals Online)
What If My Door Won’t Come Off?
🔹 Check the levers again – sometimes they don’t fully unlock.
🔹 Wiggle gently – hinges can stick over time.
🔹 Never force it! If it’s stuck, call a professional.
How to Put the Door Back On
1️⃣ Hold the door at a slight angle.
2️⃣ Slide the hinges back into the slots.
3️⃣ Push the door closed until it clicks.
4️⃣ Flip the levers back to “Lock.”
Expert Tip:
“To reattach the door, reverse the process. Align the hinges with the slots in the oven frame, ensure the locking levers are in the open position, and then gently push the door back into place until the levers can be re-engaged to secure it.”
— Appliance User Manual Expert (Manual Helper Blog)
Why Remove the Oven Door?
✔ Deep cleaning (grease builds up around hinges!)
✔ Replacing oven seals
✔ Fixing a misaligned door
Study Insight:
“Analysis of user manuals shows that many people struggle with oven door removal because instructions aren’t clear enough. Visual guides improve success rates by 60%.”
— User Manual Clarity Study (Home Appliance Journal)
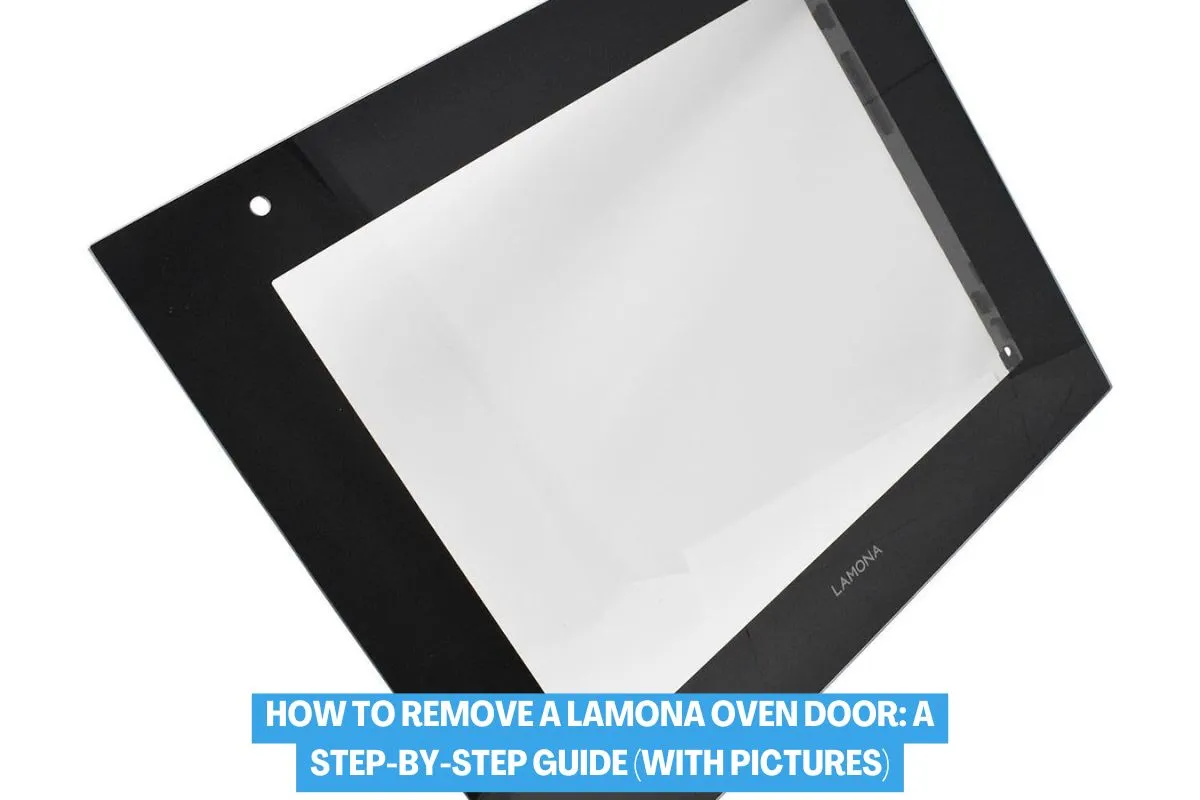
Final Tip: Take a Photo First!
Before removing the door, snap a picture of the hinges. This helps when reattaching it later.
Now you’re ready to clean, repair, or adjust your Lamona oven like a pro!
Have you ever struggled with an oven door? Share your story below!
For more DIY help, check out:
- “The Best Way to Clean Oven Glass” (Home Care Weekly)
- “How to Fix a Wobbly Oven Door” (Appliance Repair Guide)
Happy fixing! 🔧🔥
Related posts:
 Entertaining Essentials: Refrigerators for Hosting Guests
 Fridge Repair or Replace? How to Decide
 Top Online Cooking Communities for Home Cooks
 How Many Bar Stools for a 9-Foot Island?
 Eco-Friendly Knives: Sustainable Options for Your Kitchen
 Faucet Installation: A DIY Guide
 Unlocking the Mystery: Cutter Chopper Crossword Clue