Introduction
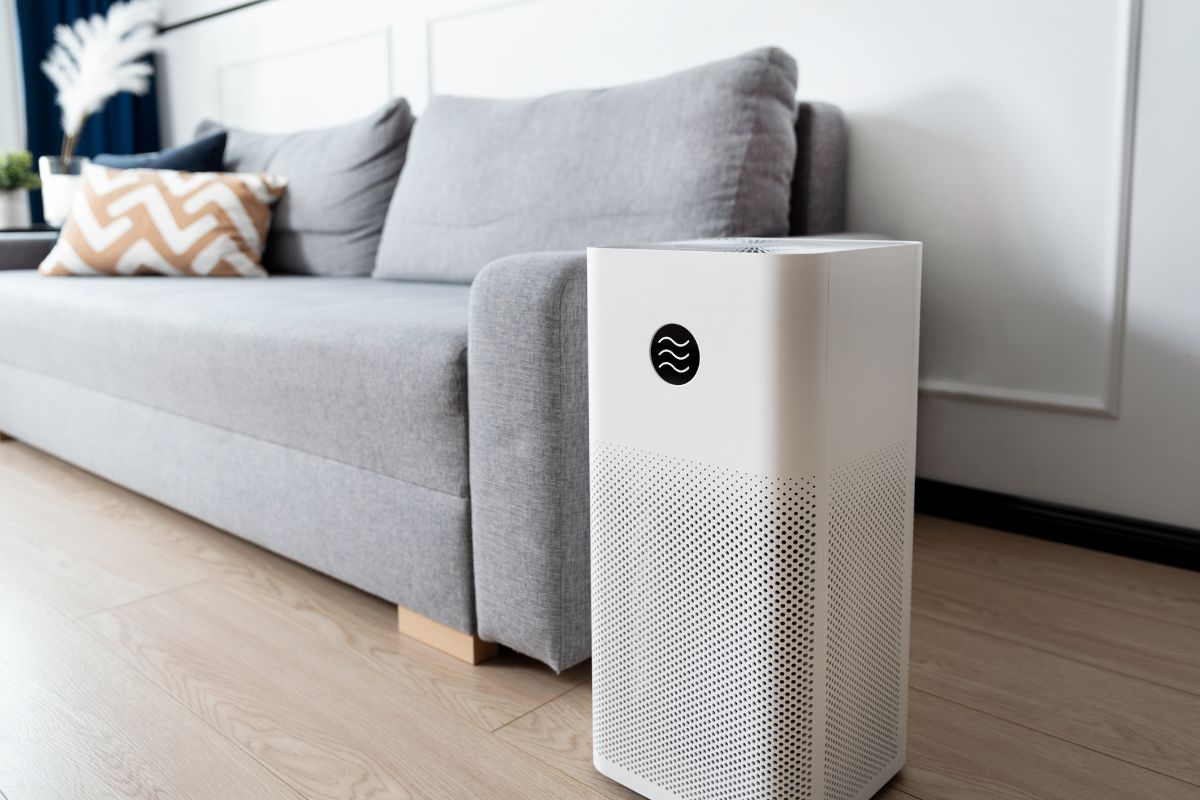
Dyson air purifiers are renowned for their efficiency in maintaining clean and healthy indoor air. However, like any electronic device, they may encounter issues from time to time. One common troubleshooting step is resetting the purifier. In this comprehensive guide, we will walk you through the process of resetting your Dyson air purifier. Whether you own a Dyson Pure Cool, Dyson Pure Hot + Cool, or any other model, this guide will help you reset it to its factory settings.
Why Reset Your Dyson Air Purifier?
Before diving into the reset process, it’s essential to understand why you might need to reset your Dyson air purifier.
There are several reasons:
- Technical Glitches: Over time, electronic devices can experience glitches or errors. Resetting your Dyson air purifier can often resolve these issues, restoring it to proper functionality.
- Filter Replacement: When you replace the filters in your Dyson air purifier, you may need to reset it to ensure they accurately track filter life and maintain optimal performance.
- Wi-Fi Connectivity Issues: If your purifier has Wi-Fi capabilities and encounters connectivity problems, a reset may help re-establish the connection.
Now that you know why you might need to reset your Dyson air purifier, let’s explore how to do it.
Step-by-Step Guide to Resetting Your Dyson Air Purifier
Step 1: Turn Off the Air Purifier
Before attempting to reset your Dyson air purifier, ensure it is turned off. This can usually be done by pressing the power button on the purifier or using the remote control.
Step 2: Unplug the Power Cord
To perform a thorough reset, it’s advisable to unplug the power cord from the electrical outlet. Wait for a few seconds to ensure any residual power is discharged.
Step 3: Plug the Power Cord Back In
After waiting for a brief moment, plug the power cord back into the electrical outlet securely.
Step 4: Turn On the Air Purifier
Turn on your Dyson air purifier by pressing the power button or using the remote control. Ensure the device is in standby or operational mode.
Step 5: Access the Settings Menu
Navigate to the settings menu on your Dyson air purifier. This is typically done via the built-in control panel on the device or through the Dyson Link app if your purifier is Wi-Fi enabled.
Step 6: Factory Reset Option
Look for the “Factory Reset” option in the settings menu. This option may be labeled differently depending on your model, but it generally involves the terms “Reset” or “Restore Factory Settings.”
Step 7: Confirm the Reset
Select the “Factory Reset” or equivalent option and confirm your selection. The purifier will usually prompt you to confirm to prevent accidental resets.
Step 8: Wait for the Reset
The Dyson air purifier will initiate the reset process, which may take a few moments. During this time, it will revert to its factory settings, erasing any customized preferences or Wi-Fi network connections.
Step 9: Reconfigure Settings (If Necessary)
After the reset is complete, you may need to reconfigure your Dyson air purifier settings. This includes setting the fan speed, enabling Wi-Fi connectivity, and adjusting any other preferences to your liking.
Step 10: Monitor Performance
Once you’ve reset and reconfigured your Dyson air purifier, monitor its performance to ensure that any issues you were experiencing have been resolved. If problems persist, consider reaching out to Dyson customer support for further assistance.
Conclusion
Resetting your Dyson air purifier is a straightforward process that can help resolve technical issues, ensure accurate filter tracking, and restore Wi-Fi connectivity. By following this step-by-step guide, you can reset your Dyson air purifier and enjoy cleaner, healthier indoor air once again. Remember to consult your specific model’s user manual for any model-specific instructions.

