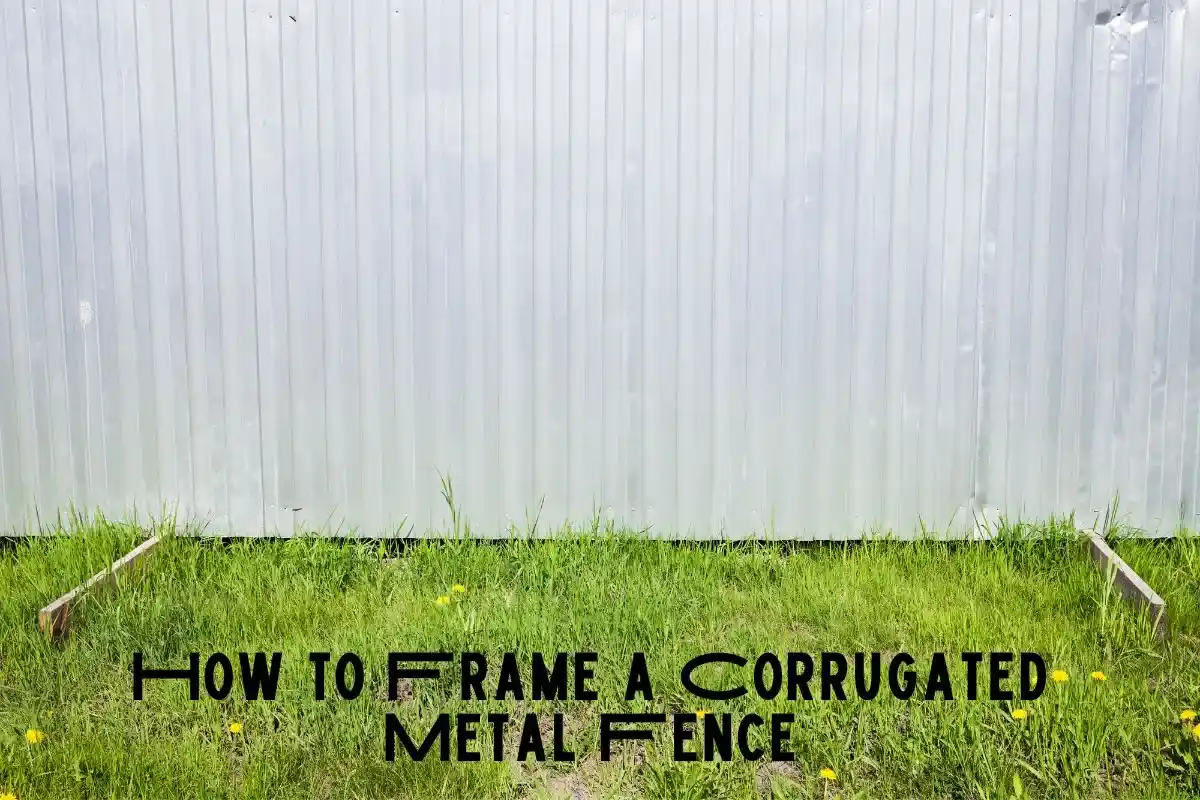
Framing a corrugated metal fence might sound like a challenging task, but it can be a rewarding project with a bit of planning, the right materials, and some basic tools. Not only does a well-framed corrugated metal fence add a modern and sleek look to your outdoor space, but it also provides privacy and protection. In this guide, we’ll walk you through the steps to frame your corrugated metal fence, offering tips and insights.
Understanding the Basics of Corrugated Metal Fencing
Before we dive into the details, let’s talk about why corrugated metal fencing is a great choice. These fences are known for their durability and modern aesthetic, making them a popular option for homeowners looking to create a unique and functional outdoor space. The corrugated design adds strength to the metal, ensuring that it can withstand the elements, while the metal itself is resistant to rot, insects, and other common issues that can affect wood fences.
Expert Insight: According to a home improvement expert, “A well-framed corrugated metal fence provides a sturdy and durable foundation for your outdoor space.” This means that the frame is just as important as the metal panels themselves.
Step 1: Planning and Preparation
Like any home improvement project, the success of your fence installation starts with good planning. Begin by determining the exact location of your fence. Consider the purpose of your fence – is it for privacy, decoration, or to keep pets and children safe? Understanding the purpose will help you decide on the height and style of your fence.
You’ll also need to check your local building codes and regulations. Some areas have specific rules about fence height, location, and even materials. Make sure you’re in compliance before you start digging.
Resource: Websites like This Old House and Bob Vila provide detailed tutorials on how to measure and plan your fence, ensuring that your project starts on the right foot.
Step 2: Gathering Materials and Tools
Now that you have a clear plan, it’s time to gather your materials and tools. The frame of your fence is typically made of wood, and it’s crucial to choose the right type. Treated wood is recommended because it’s resistant to rot and decay, which is essential for a fence that will be exposed to the elements.
Expert Insight: A building materials supplier advises, “Choose treated wood for your fence frame to resist rot and decay.” This ensures that your fence will last for years without needing major repairs.
You’ll also need a concrete mix for setting the posts, screws or nails, brackets for attaching the metal panels, and of course, the corrugated metal panels themselves. Don’t forget essential tools like a level, measuring tape, post-hole digger, and a saw.
Step 3: Setting the Fence Posts
The first physical step in building your fence is setting the posts. These posts are the backbone of your fence, so it’s important to place them correctly. Start by marking the locations for your posts using stakes and string to ensure they are in a straight line. The distance between posts will depend on the width of your metal panels, but a common spacing is about 6-8 feet.
Use a post-hole digger to dig holes that are about 2 feet deep. This depth will provide the necessary stability for your fence. Once the holes are dug, place the posts in the holes and fill them with concrete. Use a level to ensure the posts are perfectly vertical and aligned with each other.
Expert Insight: A landscaping contractor notes, “Proper fence framing ensures the longevity and stability of your corrugated metal panels.” This highlights the importance of setting your posts correctly from the start.
Step 4: Building the Frame
With the posts set and the concrete cured, you can start building the frame that will hold your corrugated metal panels. Attach horizontal rails to the posts – these rails will provide the structure that the metal panels will be attached to. Make sure the rails are level and securely fastened to the posts.
If you’re using brackets to attach the metal panels, now is the time to install them. These brackets should be spaced evenly along the rails, providing support for the metal panels.
Expert Insight: According to a DIY enthusiast, “With the right tools and materials, framing a corrugated metal fence can be a rewarding DIY project.” Taking the time to do this step correctly will pay off when you see the finished product.
Step 5: Installing the Corrugated Metal Panels
Now comes the exciting part – installing the corrugated metal panels. Start at one end of your fence and work your way to the other, attaching the panels to the frame with screws. Make sure the panels are level and overlap slightly to prevent gaps.
Expert Insight: A fence installation specialist advises, “Consider the height and weight of your corrugated metal panels when selecting the appropriate framing materials.” This ensures that your frame can support the panels without bowing or sagging.
As you install the panels, take your time to ensure each one is secure and aligned with the others. This will create a smooth, professional-looking finish.
Step 6: Adding Finishing Touches
Once all the panels are in place, take a step back and admire your work – but don’t forget the finishing touches! You may want to add a cap rail to the top of the fence for a more polished look. This can also provide extra stability to the fence.
If you want to paint or stain the wooden frame, now is the time to do it. Choose a color that complements the metal panels and the overall aesthetic of your outdoor space.
Expert Insight: A homeowner shared, “I found that planning the layout and spacing of my fence posts was crucial for a successful installation.” This reflects the importance of careful planning and attention to detail throughout the project.
Step 7: Maintenance and Longevity
Your new corrugated metal fence is now complete, but the work doesn’t stop there. Regular maintenance will keep your fence looking great and ensure it lasts for years. Check the screws and brackets periodically to make sure they are tight, and inspect the wood for any signs of rot or damage.
Resource: Stores like Home Depot and Lowe’s offer information on materials and tools needed for fence maintenance, ensuring your fence stays in top shape.
Conclusion: A Durable and Stylish Addition to Your Home
Framing a corrugated metal fence may seem like a big project, but with the right approach, it can be a satisfying and successful DIY endeavor. Whether you’re looking to add privacy, protect your property, or simply enhance the look of your outdoor space, a well-framed corrugated metal fence is a durable and stylish solution.
Remember, the key to a successful project is in the planning and attention to detail. Take your time, follow the steps carefully, and soon you’ll have a beautiful fence that not only serves its purpose but also adds value to your home.
Related posts:
 How to Hang a Wreath on a Glass Door: A Step-by-Step Guide
 Can a Deep Freezer Go in a Sun Room? Everything You Need to Know
 Choosing the Perfect Candle Fragrance for Your Home
 How to Keep Cats Out of a Flower Bed
 Roof Leak Troubleshooting: Causes, Fixes, and Prevention
 How to Clean Laminate Floors Without Leaving a Film
 Does Feather River Make Interior Doors? A Comprehensive Look