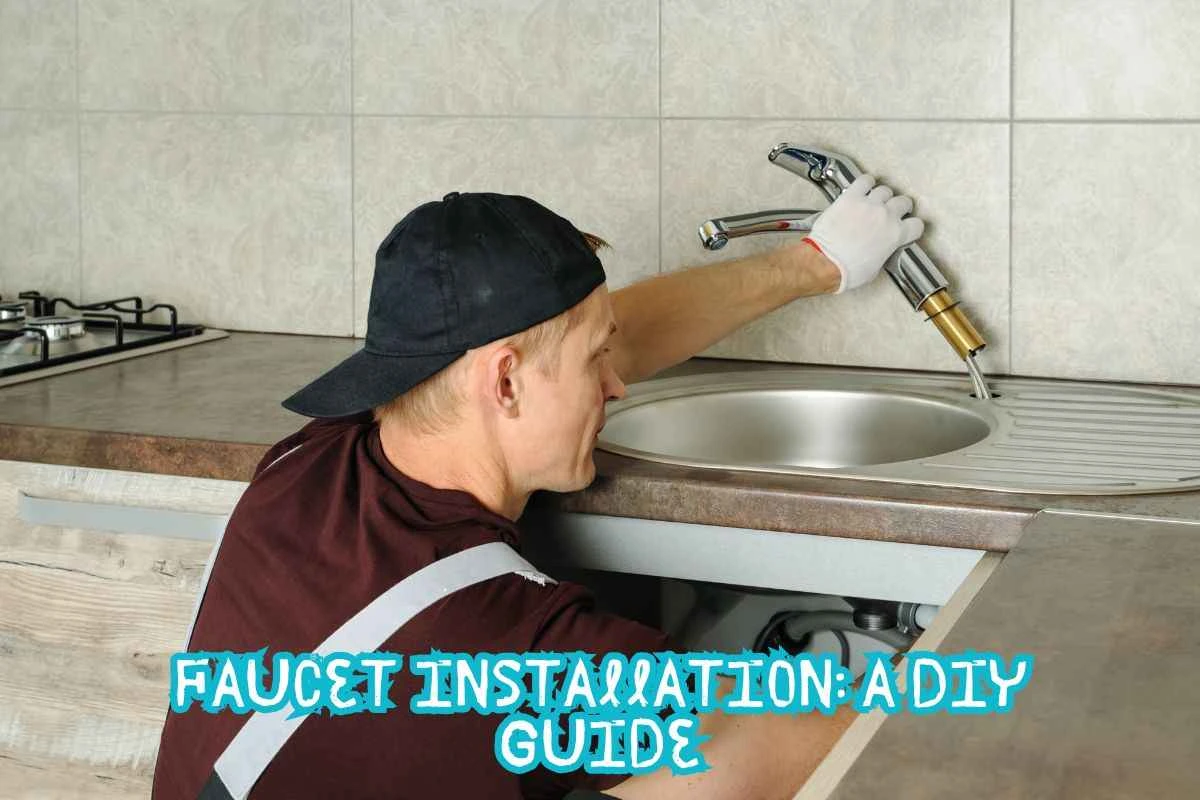
Installing a faucet can seem daunting, but with the right guidance, it’s a manageable DIY project even for beginners. Whether you’re updating your kitchen or bathroom, a new faucet can refresh your space’s look and functionality. This guide’ll walk you through each faucet installation step and share expert tips to help you succeed.
Why Install a New Faucet?
Before diving into the details, it’s worth asking why you’d want to install a new faucet in the first place. Faucets often get overlooked until they start leaking or fail to function properly. Replacing an old or outdated faucet can:
- Improve the appearance of your sink area.
- Increase the water efficiency of your home.
- Provide better control over water flow and temperature.
- Reduce leaks and save on water bills.
Installing a new faucet became essential after the one in our kitchen started dripping. At first, I ignored it, thinking it wasn’t a big deal. But soon, the constant drip-drip sound became unbearable, and my water bill crept up. That’s when I decided it was time to take on the project myself.
Gathering Your Tools and Materials
Before you start, make sure you have the necessary tools. Having the right equipment makes a world of difference in how smoothly your installation goes. Here’s what you’ll need:
- New faucet (make sure it matches your sink’s configuration)
- Basin wrench
- Adjustable wrench
- Plumber’s tape
- Bucket or towel (to catch any water)
- Silicone sealant
- Teflon tape
Pro Tip from Home Improvement Expert Bob Vila: “Installing a faucet can be a DIY project, but it’s important to follow proper procedures and use the right tools to ensure a successful installation.”
Step-by-Step Faucet Installation
1. Turn Off the Water Supply
Before anything else, locate the water shut-off valves under the sink and turn them off. If your shut-off valves aren’t functional or if you can’t find them, you may need to turn off the main water supply to your home.
Personal Anecdote: The first time I installed a faucet, I skipped this step and was in for a surprise. Water gushed everywhere, soaking everything under the sink! Lesson learned—always turn off the water first.
2. Disconnect the Old Faucet
Use an adjustable wrench or basin wrench to loosen the nuts securing the faucet to the sink. You’ll also need to disconnect the supply lines that bring water to the faucet. Have a bucket or towel handy to catch any residual water.
If the old faucet has been in place for many years, it might be a bit stubborn to remove due to mineral buildup or corrosion. Don’t force it—use some penetrating oil and let it sit for a while if it’s stuck.
DIY Enthusiast Ana White encourages beginners: “Faucet installation is a great DIY project for beginners. Just follow the instructions carefully, and you’ll be able to do it yourself.”
3. Clean the Area
Once you’ve removed the old faucet, clean the area around the sink opening. Over time, grime, mold, and rust can build up around the base of the faucet. Scrape off any old plumber’s putty or sealant, and wipe the area down with a damp cloth. This will ensure a smooth installation of your new faucet.
4. Insert the New Faucet
Now that your sink is prepped, it’s time to insert the new faucet. Slide the faucet into the holes where the old one was. Most faucets come with a rubber gasket or foam base that should be placed between the faucet and sink to create a watertight seal.
If your faucet doesn’t come with this gasket, you can apply a small amount of silicone sealant around the base before securing it to the sink.
5. Secure the Faucet
From under the sink, use the mounting nuts that came with your faucet to secure it to the sink. Tighten the nuts with your basin wrench or adjustable wrench, ensuring the faucet is secure but not overtightened.
Home Improvement Expert This Old House advises: “Installing a faucet is a relatively simple DIY project that can be completed in a few hours. Just make sure to turn off the water supply before starting.”
6. Connect the Water Supply Lines
Next, connect the water supply lines to the faucet. Use Teflon tape on the threads of the connections to prevent leaks. Tighten the connections with your adjustable wrench, but don’t overtighten, as this could damage the fittings.
Once the supply lines are connected, turn the water back on slowly, checking for any leaks around the connections. Tighten any loose connections if necessary.
7. Test the Faucet
Turn on the faucet to make sure both hot and cold water are flowing properly. Check for leaks, and if everything looks good, your installation is complete!
Home Decor Expert Joanna Gaines shares: “A new faucet can instantly update the look of your kitchen or bathroom. With a little know-how, you can install it yourself.”
Troubleshooting Common Issues
While faucet installation is straightforward, you might encounter some minor hiccups along the way.
Here are a few common issues and how to fix them:
Leaks Around the Faucet Base
If you notice water pooling around the base of your faucet, likely, the seal between the faucet and sink isn’t tight enough. Remove the faucet, apply more silicone sealant or adjust the gasket, and reinstall it.
Water Pressure Issues
If the water pressure is too low or too high after installation, check the aerator on the faucet. It may need to be cleaned or adjusted.
Dripping Faucet
A dripping faucet usually indicates a problem with the valve seat or O-ring. Check these components, and replace them if necessary.
Plumbing Expert Tom Silva advises: “While installing a faucet can be a DIY project, it’s important to have a basic understanding of plumbing principles. If you’re unsure, it’s best to consult a professional.”
Choosing the Right Faucet for Your Space
Not all faucets are created equal. When selecting a new faucet, there are a few key factors to keep in mind:
- Style: Choose a faucet that matches the aesthetic of your kitchen or bathroom.
- Functionality: Consider the type of handles (single vs. double), spout height, and sprayer options.
- Material: Faucets come in a variety of materials, including stainless steel, chrome, and brushed nickel. Pick one that complements your décor and is durable.
Expert Quote from Lowe’s: “Our website offers detailed instructions and tutorials on how to install a faucet. If you’re a DIYer, we encourage you to give it a try.”
The Benefits of DIY Faucet Installation
Installing a faucet yourself can save money and give you a sense of accomplishment. Here are some key benefits:
- Cost savings: By doing it yourself, you save on labor costs, which can range from $150 to $300 or more depending on the complexity of the job.
- Satisfaction: There’s nothing like the feeling of completing a home improvement project yourself.
- Skill-building: Each DIY project teaches you new skills and builds your confidence for future projects.
Home Improvement Expert Bob Vila emphasizes: “Installing a faucet can be a DIY project, but it’s important to follow proper procedures and use the right tools to ensure a successful installation.”
Final Thoughts
Installing a faucet might seem challenging at first, but with the right tools, guidance, and patience, it’s a project anyone can tackle. It can transform your kitchen or bathroom in just a few hours and leave you with a sense of pride and accomplishment. So, why not give it a try?
If you’re feeling hesitant, remember that plenty of resources and expert advice are available. Take it one step at a time, and soon you’ll have a brand-new faucet to show for your efforts.
Sleep Consultant Sarah Napien reminds us that: “A small DIY project, like faucet installation, can bring significant improvements to your home while also giving you a boost in confidence as a DIYer.”
Happy DIYing!


