If you’ve ever found yourself rinsing cups over and over, you know how repetitive and time-consuming it can be. A cup rinser can make this process far more efficient. Whether you’re a coffee lover, a smoothie enthusiast, or a parent constantly cleaning after kids, installing a cup rinser in your kitchen is a game-changer. The best part? It’s a straightforward DIY project that you can do on your own.
This guide will walk you through everything you need to know to install a cup rinser easily, saving both water and time, while adding a stylish touch to your kitchen setup.
What is a Cup Rinser?
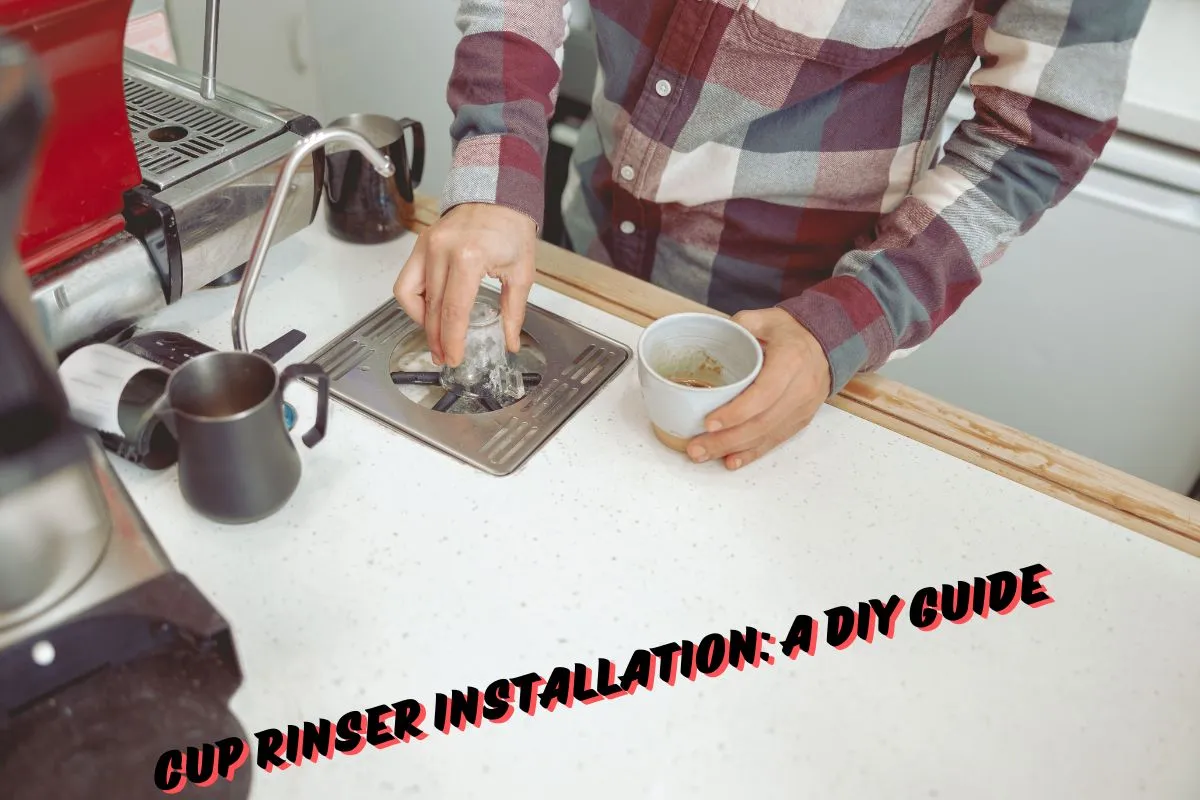
A cup rinser is a handy device typically mounted next to your sink. It sprays water directly into cups, glasses, and bottles for a quick and thorough rinse. With just a press, water jets into the container, giving it a powerful wash. It’s a favorite among cafes and bars, but it’s also increasingly popular in households for its convenience.
Why Install a Cup Rinser?
A cup rinser is not only practical but also efficient. Here are a few reasons why installing a cup rinser could be a great choice:
- Time-saving: It’s faster than hand-rinsing each cup.
- Water-saving: Cup rinsers use less water than filling a sink or running the tap.
- Convenient: You won’t need to deal with hard-to-reach spots in bottles or jars.
- Hygienic: It ensures a thorough cleaning, which is especially useful for kids’ cups, narrow bottles, or coffee mugs.
As plumbing expert, Bob Vila says, “Installing a cup rinser is a relatively simple DIY project that can add convenience and functionality to your kitchen” .
Materials You’ll Need
Before diving into the installation process, gather the following materials:
- Cup rinser kit (includes rinser, hose, and mounting hardware)
- Adjustable wrench
- Drill with hole saw bit (optional if your countertop doesn’t have a pre-existing hole)
- Plumber’s tape
- Water supply line T-adapter
- Measuring tape
Step-by-Step Cup Rinser Installation
Step 1: Choosing the Perfect Spot
The first thing to do is decide where to place your cup rinser. Most people install it next to their kitchen sink for easy access to both water supply and drainage. Make sure there’s enough counter space, and check under your sink for easy access to the water line.
For my installation, I initially thought I could squeeze it in next to the faucet, but it turns out I needed a bit more room. After a bit of rearranging, I found a perfect spot that worked both for convenience and aesthetics. Trust me, it’s worth taking the time to pick the right location!
Step 2: Drilling a Hole (If Needed)
If your sink or countertop already has an extra hole (like for a soap dispenser or sprayer), you can use that spot. If not, you’ll need to drill one. Use a hole saw bit that matches the size specified by your cup rinser kit.
Tip: Be sure to measure the exact size of the hole to avoid any mistakes. I learned this the hard way when I miscalculated by just a few millimeters—nothing a bit of extra effort couldn’t fix, but save yourself the trouble!
Step 3: Attaching the Cup Rinser
Insert the cup rinser through the hole and use the provided hardware to secure it in place. The kit usually comes with a gasket to prevent leaks, so make sure to use it when tightening the mounting hardware.
Celebrity stylist Rachel Zoe, who emphasizes both functionality and style, advises: “A cup rinser is a great way to save water and time in your kitchen. It’s a simple and affordable upgrade” .
Step 4: Connecting the Water Supply
Locate the water supply line under your sink. You’ll need to shut off the water before starting this step. Install the T-adapter between your water supply line and the faucet. This will allow water to flow to both your faucet and the cup rinser.
Use the plumber’s tape on the threads to ensure a secure, leak-free connection. Attach the hose from the cup rinser to the T-adapter.
Step 5: Testing for Leaks
Once everything is connected, turn the water back on and check for leaks. Run the rinser a few times to ensure water flows smoothly without any leaks around the connections.
Plumbing contractor John The Plumber notes, “A cup rinser is a relatively inexpensive and easy-to-install upgrade for your kitchen. It’s a great way to save water and time” .
Step 6: Clean and Organize
Lastly, tidy up the area around your new cup rinser. You’ll want to clean off any dust or debris from drilling, and organize the space under your sink.
Pro Tips for Success
1. Double-check the water supply line
Before drilling or installing, confirm that your water supply lines are compatible with the kit you’re using. Some cup rinsers may require additional adapters based on your setup. A quick check could save you a trip to the hardware store!
2. Measure Twice, Drill Once
This can’t be emphasized enough. You only get one chance to drill that hole in your countertop or sink, so measure everything twice to ensure it’s accurate.
3. Get a Friend’s Help
Though this is a simple project, having an extra set of hands can make the process easier, especially when tightening hardware under the sink. In my case, a friend helped hold the rinser in place while I secured the fittings underneath.
Common Mistakes to Avoid
- Skipping the Plumber’s Tape: A small but crucial step, skipping a plumber’s tape can lead to leaks. Always use it for secure connections.
- Wrong Placement: Make sure your rinser is placed far enough from the sink edge to catch the water, but close enough for convenience. Placing it too far can make it awkward to use.
- Forgetting to Shut Off the Water: This sounds basic, but it happens! Be sure to turn off the water supply before disconnecting any lines.
Benefits of a Cup Rinser
Beyond the convenience of quickly cleaning your cups, here are some key benefits:
- Water Conservation: According to a study on the Water Conservation Benefits of Cup Rinsers, using a rinser can significantly reduce water usage compared to traditional washing methods.
- Faster Cleanups: You’ll find that rinsing cups after each use becomes a breeze, especially for those hard-to-clean bottles or jars.
- Hygiene: Cup rinsers are highly effective for preventing buildup in narrow containers that are tough to clean by hand.
Final Thoughts
Installing a cup rinser is a great DIY project that adds functionality to your kitchen while saving time, water, and energy. Whether you’re a seasoned DIYer or a beginner, this is a project you can confidently tackle.
As DIY enthusiast Adam Savage says, “With a little know-how, you can easily install a cup rinser in your kitchen. It’s a great DIY project for beginners” .

