Table of Contents
ToggleCan You Paint Thermofoil Cabinets? A DIY Guide with Lasting Results
Thermofoil cabinets are a popular choice for kitchens and bathrooms due to their affordability, durability, and easy maintenance. However, the smooth vinyl surface can make them appear outdated or clash with your décor. While painting thermofoil cabinets is possible, it requires specific techniques to ensure the paint adheres properly and creates a long-lasting finish.
This comprehensive guide will answer the question “Can you paint thermofoil cabinets?” and provide a step-by-step process to achieve a beautiful, professional-looking finish. We’ll cover everything you need to know, from the pros and cons of painting thermofoil to the best paint and materials to use.
Should You Paint Your Thermofoil Cabinets?
Before diving into the painting process, it’s important to consider whether painting your thermofoil cabinets is the right decision for you.
Here are some factors to weigh:
- Condition of the thermofoil: Is the thermofoil peeling, bubbling, or damaged? Painting over damaged thermofoil will not fix the underlying issues and may worsen the appearance. Repairing minor damage is possible, but extensive damage might necessitate replacing the cabinet doors.
- Desired finish: If you’re looking for a high-gloss, factory-like finish, painting thermofoil cabinets might not be the best option. While achievable, it requires a high level of skill and multiple coats of paint.
- Budget: Replacing thermofoil cabinets can be expensive. Painting offers a more budget-friendly way to update your cabinets. However, keep in mind the cost of high-quality primers, paints, and proper tools.
Pros and Cons of Painting Thermofoil Cabinets
Pros:
- Affordability: Painting is significantly cheaper than replacing thermofoil cabinets.
- Style Versatility: Paint offers a wider range of color and finish options to match your décor.
- Update Outdated Cabinets: A fresh coat of paint can breathe new life into tired-looking thermofoil cabinets.
Cons:
- Challenging Prep Work: Thermofoil’s smooth surface requires meticulous cleaning and sanding for proper paint adhesion.
- Lower Durability: Painted thermofoil cabinets might not be as durable as original thermofoil, especially in high-moisture areas like bathrooms.
- Visible Brushstrokes: Achieving a flawless, professional-looking finish can be difficult, especially for DIY novices.
Gathering the Necessary Supplies
To paint your thermofoil cabinets successfully, you’ll need the following supplies:
- Cleaning Supplies: Dawn dish soap, warm water, rags, sanding block (medium grit)
- Zinsser 1-2-3 Primer: This primer is specifically formulated for laminate surfaces like thermofoil.
- Painting Supplies: High-quality paint brushes (various sizes), foam rollers (4″), painter’s tape, small plastic paint tray
- Paint: Choose a high-quality, water-based paint suitable for cabinets. Benjamin Moore Advance Waterborne Interior Alkyd paint is a good option due to its self-leveling properties and extended open time.
Cleaning and Sanding Thermofoil Cabinets
- Thorough Cleaning: Begin by thoroughly cleaning the thermofoil cabinets with a mixture of warm water and Dawn dish soap. This removes any grease, dirt, or residue that could hinder paint adhesion.
- Light Sanding: Once the cabinets are dry, use a medium-grit sanding block to lightly sand the entire surface. This creates a slight texture for the primer and paint to adhere to. Wipe away any sanding dust with a damp rag.
Applying Primer
- Priming is Crucial: Primer is essential for creating a strong bond between the paint and the thermofoil surface. Use a high-quality primer like Zinsser 1-2-3 Primer, specifically designed for laminate surfaces.
- Brush First, Roll Second: Start by using a brush to apply primer in all the nooks, crannies, and details of the cabinet doors and drawer fronts. Then, use a foam roller for a smooth, even coat on the flat surfaces.
- Minimize Air Bubbles: When using foam rollers, you might encounter air bubbles. Simply roll over them lightly to eliminate them and ensure a flat surface.
- One or Two Coats: Apply one coat of primer and let it dry completely. Depending on the opacity of the primer and how well the first coat covers the thermofoil, you might opt for a second coat for better coverage.
Tip: When priming and painting, work quickly and efficiently to avoid the primer or paint drying before you finish a section. This will help minimize visible brushstrokes and roller marks.
Painting Thermofoil Cabinets
- Choosing the Right Paint: Opt for a high-quality, water-based paint specifically formulated for cabinets. Benjamin Moore Advance Waterborne Interior Alkyd is a great choice because of its self-leveling properties and extended open time, allowing for smoother application and minimizing brushstrokes.
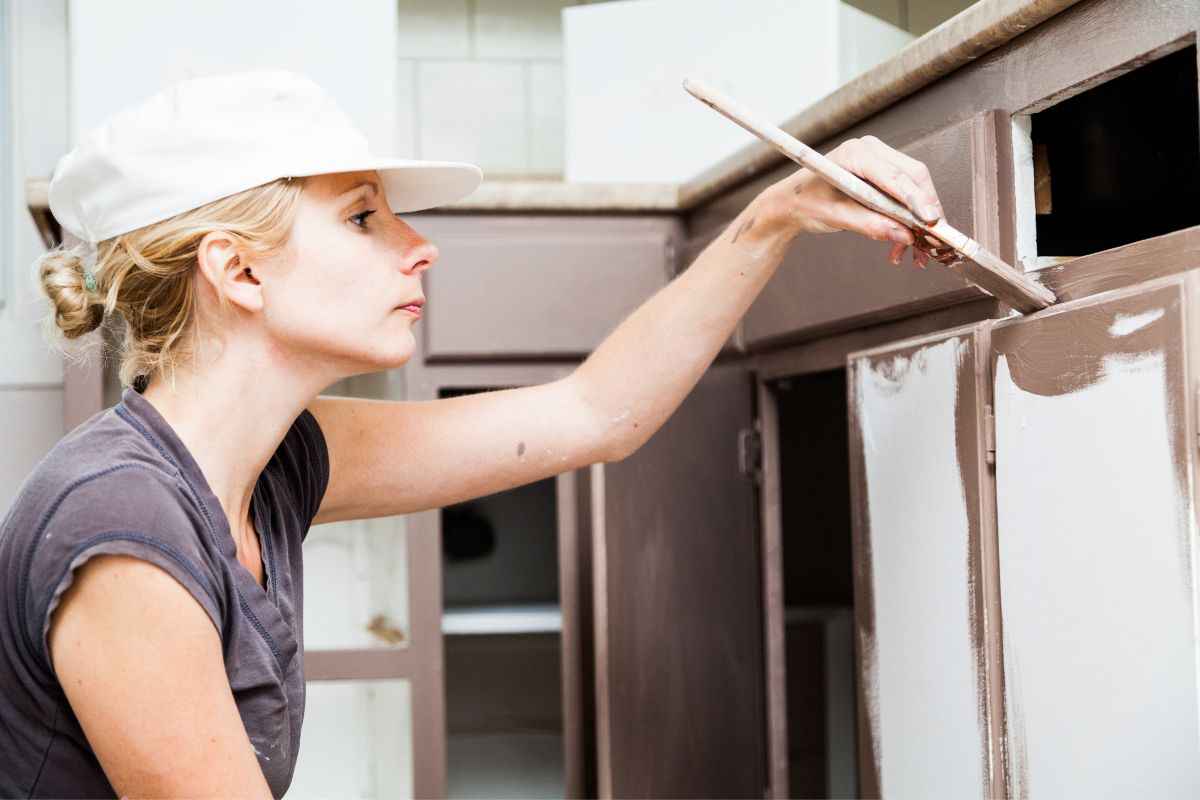
- Brush Technique is Key: A high-quality paintbrush like the Picasso Latex/Oil 2″ brush is essential for achieving a smooth finish. Use a light, feathery touch as you brush the paint onto the surface, following the same direction used for priming.
- Self-Leveling Magic: The beauty of Benjamin Moore Advance paint is its self-leveling properties. Even if you see light brushstrokes initially, they will often smooth out as you continue applying the paint. However, avoid going back over areas that have already been painted for more than a few minutes, as this can create ridges and unwanted marks.
- Rolling for Smoothness: Once you’ve finished brushing the paint onto the cabinets, use a foam roller for a smooth, even application on flat surfaces. Similar to priming, move quickly and avoid overworking the paint to minimize roller marks.
Tip: Apply the paint in thin coats. It’s always better to add multiple thin coats for better coverage and a smoother finish than attempt to achieve full coverage with one thick coat.
Letting the Paint Dry and Applying Additional Coats
- Patience is Key: Once you’ve applied the first coat of paint, resist the urge to re-hang the cabinet doors immediately. Let the paint dry completely according to the manufacturer’s recommendations. This usually takes several hours, but waiting ensures a more durable finish and prevents scratches or chips during reinstallation.
- Second Coat Perfection: After the first coat has dried completely, lightly sand any areas with visible brushstrokes or imperfections. Wipe away sanding dust and apply a second coat of paint using the same techniques mentioned earlier. For darker paint colors, two coats are typically sufficient. If using a lighter color, you might need a third coat for optimal coverage.
Reinstalling Cabinet Doors and Hardware
- Final Touches: Once the final coat of paint has dried completely, carefully rehang the cabinet doors and drawer fronts. Reattach any hardware that was removed during the painting process.
Enjoying Your Transformed Thermofoil Cabinets!
Congratulations! You’ve successfully painted your thermofoil cabinets and given them a fresh, updated look. With proper care and maintenance, your painted cabinets can last for years to come. Here are some tips for maintaining your painted thermofoil cabinets:
- Avoid Abrasive Cleaners: Use mild soap and water for routine cleaning. Avoid harsh chemicals or abrasive cleaners that can damage the painted surface.
- Minimize Moisture Exposure: Especially in high-moisture areas like bathrooms, minimize water exposure around the cabinets. Wipe up spills promptly to prevent moisture from seeping under the paint and causing peeling.
- Touch-Ups: Over time, with everyday wear and tear, you might encounter minor nicks or scratches. Use a small artist’s brush and touch-up paint to address these imperfections and maintain a flawless finish.
By following these steps and tips, you can successfully paint your thermofoil cabinets and enjoy a beautiful, updated kitchen or bathroom at a fraction of the cost of replacement.
Share via:


