Introduction
Installing a Google Nest Thermostat is a straightforward process that empowers you to manage your home’s temperature efficiently. In this comprehensive guide, we’ll walk you through each step, ensuring a seamless installation experience.
I. Before You Begin: Preparing for Installation
1. Check Compatibility
Ensure your HVAC system is compatible with the Google Nest Thermostat. Verify compatibility on the Nest website or using the compatibility checker tool provided.
2. Gather Tools and Materials
Collect essential tools such as a screwdriver, level, and pliers. Confirm you have the necessary wires, and if not, consult the compatibility checker for recommendations.
II. Unboxing and Familiarizing Yourself with the Nest Thermostat
1. Unbox the Nest Thermostat
Carefully unpack the Nest Thermostat and review the contents. You should find the thermostat display, base, screws, and a welcome guide.
2. Understand the Components
Familiarize yourself with the thermostat’s components, including the display, temperature sensor, and connectors. Refer to the welcome guide for detailed information.
III. Turning Off Power and Removing Your Old Thermostat
1. Turn Off Power
Locate the circuit breaker for your HVAC system and turn off the power. This is crucial for your safety during the installation process.
2. Remove the Old Thermostat
Carefully remove the cover of your old thermostat to expose the wiring. Note the wire labels and their corresponding terminals.
3. Disconnect Wires
Using the screwdriver, disconnect the wires from the old thermostat’s terminals. Keep the wires separated for easy identification.
IV. Installing the Nest Thermostat Base
1. Choose a Location
Select an optimal location for the Nest Thermostat base. It should be centrally located, at eye level, and near a power source.
2. Mount the Base
Secure the base to the wall using the provided screws. Ensure it is level and tightly attached.
3. Connect Wires to Nest Base
Connect the wires to the corresponding terminals on the Nest Thermostat base. Use the wiring labels from the old thermostat as a guide.
V. Attaching the Nest Thermostat Display
1. Snap on the Display
Gently align the connectors on the display with those on the base and snap it into place. The display should fit securely onto the base.
2. Turn On Power
Go back to the circuit breaker and restore power to your HVAC system.
3. Set Up the Nest Thermostat
Follow the on-screen prompts to complete the initial setup. Connect the thermostat to your Wi-Fi network and configure settings such as language and location.
VI. Testing and Troubleshooting
1. Test Heating and Cooling
Activate both the heating and cooling functions to ensure the Nest Thermostat controls your HVAC system effectively.
2. Addressing Common Issues
Refer to the troubleshooting section in the Nest Thermostat manual to resolve any issues. Common problems include connectivity issues, sensor malfunctions, or wiring discrepancies.
VII. Integrating with Google Home and Other Smart Devices
1. Link with Google Home
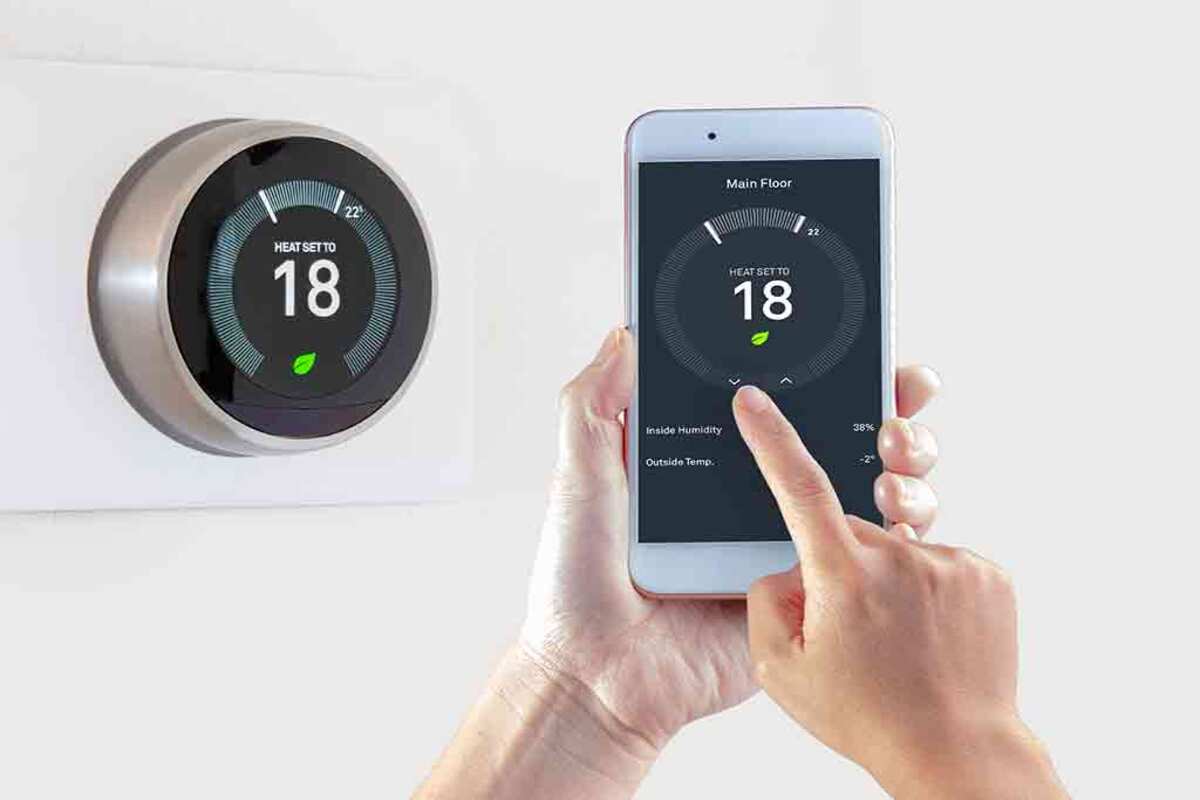
Sync your Nest Thermostat with the Google Home app for convenient control using your smartphone or smart devices.
2. Explore Smart Integrations
Discover additional smart home integrations compatible with the Nest Thermostat, such as voice control through Google Assistant or other smart platforms.
VIII. Energy-Saving Tips and Features
1. Utilize Eco Mode
Take advantage of the Nest Thermostat’s Eco Mode, which helps conserve energy when you’re away from home.
2. Learn and Adapt*
Allow the thermostat to learn your preferences over time, optimizing temperature settings for energy efficiency and comfort.
Conclusion: Enjoying a Smart and Efficient Home
In conclusion, installing a Google Nest Thermostat is a user-friendly process that transforms your home into a smart and energy-efficient space. By following the steps outlined in this guide, you’ll seamlessly integrate this innovative device into your HVAC system, gaining control and customization at your fingertips. Embrace the future of home heating and cooling with the Google Nest Thermostat.


