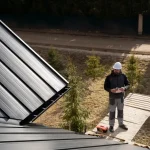
A leaking roof can quickly turn from a minor inconvenience to a major disaster if not addressed promptly. Not only can it lead to structural damage, but it can also create a perfect environment for mold growth and even cause electrical problems. Understanding the common causes of roof leaks and how to troubleshoot them can save you time, money, and a lot of frustration.
In this article, we’ll explore the most common causes of roof leaks, share practical troubleshooting tips, and provide expert advice to help you protect your home. Whether you’re dealing with a current leak or looking to prevent future issues, this guide will give you the tools you need to keep your roof in top shape.
Common Causes of Roof Leaks
1. Damaged or Missing Shingles
Shingles are your roof’s first line of defense against the elements. If they’re cracked, damaged, or missing, water can easily find its way into your home.
Expert Tip: Bob Vila, a home improvement expert, emphasizes, “The sooner you identify and address a roof leak, the less damage it will cause. Look for signs like water stains on ceilings and walls, along with missing or damaged shingles” (Bob Vila website).
Personal Anecdote: Last winter, I noticed a small water stain on my living room ceiling. At first, I ignored it, thinking it was just a one-time issue. But after a heavy rainstorm, the stain grew larger, and I realized I had a problem. A quick inspection revealed a few missing shingles near the roof’s edge. Replacing them promptly saved me from a much bigger repair bill.
Roof Leaks: Causes, Troubleshooting, and Prevention
| Category | Details | Tips/Examples |
|---|---|---|
| Common Causes | Damaged or Missing Shingles | Inspect for cracks, curling, or missing shingles after storms |
| Clogged Gutters | Clean gutters twice a year; install gutter guards | |
| Poorly Installed or Damaged Flashing | Check flashing around chimneys, vents, and skylights | |
| Ice Dams | Ensure proper attic insulation and ventilation | |
| Condensation in the Attic | Improve attic ventilation to prevent moisture buildup | |
| Troubleshooting Steps | Step 1: Identify the Source | Inspect attic for stains; use binoculars to check the roof; perform a water test |
| Step 2: Apply Temporary Fixes | Use tarps, roofing cement, or sealant to stop leaks temporarily | |
| Step 3: Hire a Professional for Permanent Repairs | Find a qualified roofer through recommendations or online reviews | |
| Preventive Measures | Regular Inspections | Inspect roof twice a year and after severe weather |
| Clean Gutters | Remove debris and install gutter guards | |
| Maintain Attic Ventilation | Ensure proper airflow to prevent condensation | |
| Trim Overhanging Branches | Prevent debris buildup and damage from falling limbs | |
| Address Minor Issues Promptly | Fix small leaks or missing shingles immediately |
Quick Guide to Roof Leak Prevention
- Inspect Regularly: Check your roof and attic for signs of damage or leaks.
- Clean Gutters: Keep gutters clear to prevent water overflow.
- Improve Ventilation: Ensure your attic is well-ventilated to avoid condensation.
- Trim Trees: Remove branches that hang over your roof.
- Call a Pro: For major issues, hire a qualified roofer to ensure safe and effective repairs.
2. Clogged Gutters
Gutters are designed to direct water away from your roof and home. If they’re clogged with leaves, twigs, and other debris, water can overflow and seep into your roof’s edges, causing leaks.
Pro Tip: Clean your gutters at least twice a year—once in the spring and again in the fall. If you have overhanging trees, consider installing gutter guards to keep debris out.
3. Poorly Installed or Damaged Flashing
Flashing is used to seal and protect the seams and joints on your roof, such as around chimneys, vents, and skylights. If the flashing is improperly installed or damaged, it can lead to leaks.
Expert Insight: Mike Holmes, a well-known contractor and television personality, advises, “A leak in your roof is a serious issue that shouldn’t be ignored. It can lead to structural damage, mold growth, and even electrical problems. If you suspect a leak, don’t wait—call a qualified roofer right away” (Interview with Mike Holmes).
4. Ice Dams
In colder climates, ice dams can form at the edge of your roof, preventing melting snow from draining properly. This trapped water can seep under your shingles and cause leaks.
Study Insight: The Insurance Institute for Business & Home Safety (IBHS) has conducted research on roof damage caused by various factors, including ice dams. Their studies highlight the importance of proper insulation and ventilation to prevent ice dams from forming (IBHS.org).
5. Condensation in the Attic
Poor attic ventilation can lead to condensation buildup, which can drip onto your insulation and eventually cause leaks.
Expert Advice: David McElroy, an Owens Corning Roofing Shingle Specialist, states, “Understanding common causes of roof leaks can empower homeowners to take preventive measures. Proper ventilation, regular cleaning of gutters, and addressing minor issues promptly can all contribute to a leak-free roof” (Owens Corning website article by David McElroy).
Troubleshooting Roof Leaks
Step 1: Identify the Source
The first step in troubleshooting a roof leak is to identify its source. This can sometimes be tricky, as water can travel along roof panels and beams before dripping onto your ceiling.
Tips for Finding the Source:
- Inspect the Attic: Look for signs of water stains, mold, or wet insulation in your attic.
- Check the Roof: Use binoculars to inspect your roof for missing or damaged shingles, cracked flashing, or other signs of damage.
- Water Test: If you can’t find the leak visually, try using a garden hose to spray sections of your roof while someone inside watches for drips.
Personal Anecdote: When I couldn’t find the source of a persistent leak, I enlisted my partner to help with a water test. We sprayed different sections of the roof until we finally spotted the drip. It turned out to be a small crack in the flashing around our chimney.
Step 2: Temporary Fixes
Once you’ve identified the source, you may need to apply a temporary fix to prevent further damage until a professional can make permanent repairs.
Temporary Fixes Include:
- Tarps: Secure a tarp over the damaged area to keep water out.
- Roofing Cement: Apply roofing cement to small cracks or holes.
- Sealant: Use a waterproof sealant around flashing or vents.
Expert Quote: John Owens, a spokesperson for the National Roofing Contractors Association (NRCA), advises, “While some basic troubleshooting can help identify the source of a leak, attempting roof repairs yourself can be dangerous. Always consult a professional roofer for repairs to ensure the job is done safely and correctly” (Interview with NRCA representative).
Step 3: Permanent Repairs
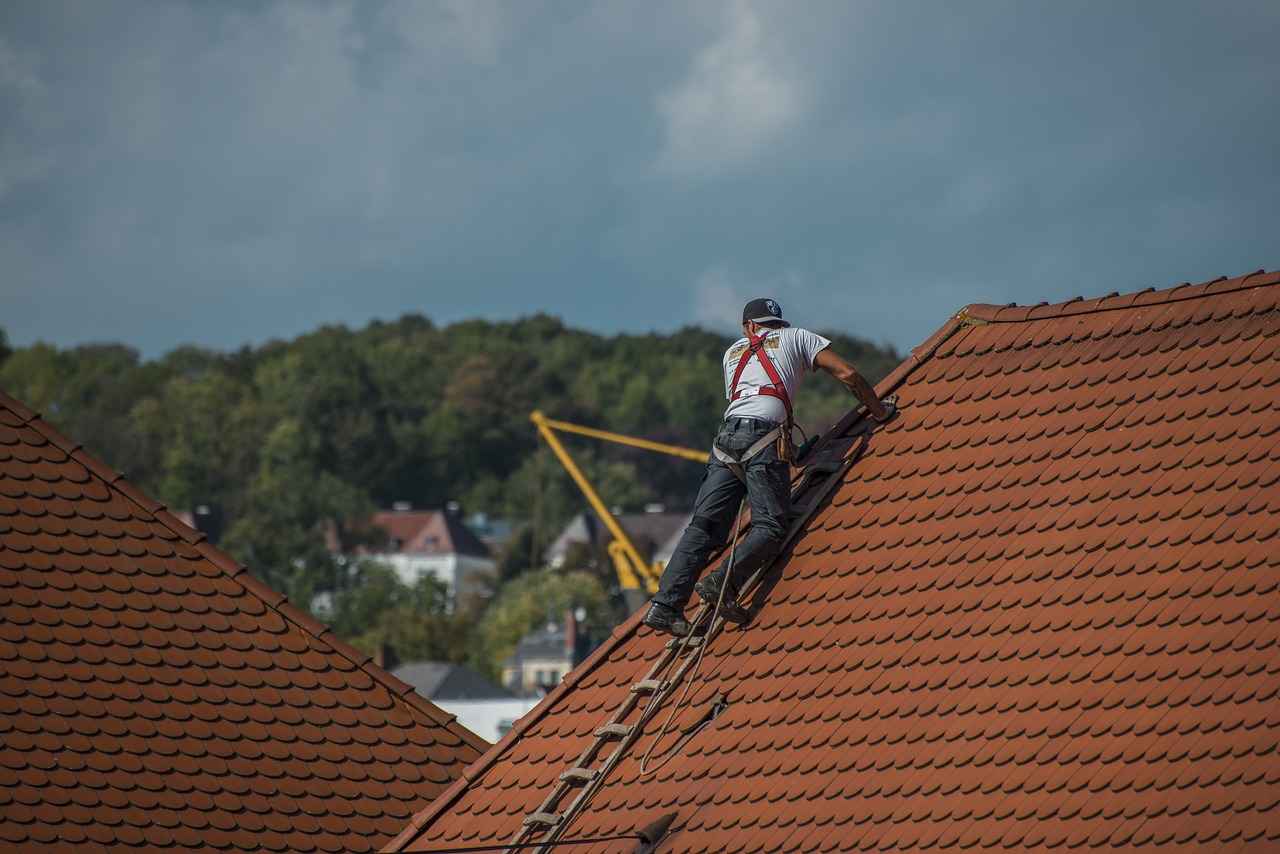
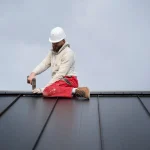
For permanent repairs, it’s best to hire a qualified roofing contractor. They have the expertise and tools to fix the problem correctly and safely.
Finding a Good Roofer:
- Ask for Recommendations: Friends, family, and neighbors can be great sources for finding reliable roofers.
- Check Online Reviews: Websites like Angi’s List (formerly Angie’s List) provide reviews and ratings of local contractors.
Expert Insight: Sarah Beale, an Angi’s List roofing expert, states, “Many roof leaks can be traced back to simple maintenance issues. Regularly inspecting your roof and gutters for signs of damage can help prevent leaks before they start” (Angi’s List blog post by Sarah Beale).
Preventive Measures
Preventing roof leaks is all about regular maintenance and inspections. Here are some tips to keep your roof in good shape:
1. Regular Inspections
Inspect your roof at least twice a year and after severe weather. Look for missing or damaged shingles, cracks in the flashing, and clogged gutters.
2. Keep Gutters Clean
Clean your gutters regularly to prevent water buildup. Install gutter guards to keep debris out.
3. Maintain Attic Ventilation
Ensure your attic has proper ventilation to prevent condensation buildup. Install vents if necessary.
4. Trim Overhanging Branches
Trim branches that hang over your roof to prevent damage from falling limbs and to keep debris from accumulating.
5. Address Minor Issues Promptly
Fix minor issues like small leaks or missing shingles as soon as you notice them to prevent more significant problems down the road.
Study Insight: The Department of Energy’s Building America Program promotes energy-efficient building practices. Their studies indicate that proper roof ventilation can prevent moisture buildup, which is a common cause of leaks (energycodes.gov).
Final Thoughts
A leaking roof can be a homeowner’s worst nightmare, but with regular maintenance and prompt attention to potential problems, you can keep your roof in top condition. Remember to inspect your roof regularly, keep your gutters clean, and address any issues as soon as they arise. And when in doubt, always consult a professional roofer to ensure the safety and longevity of your home.
By following these tips and being proactive about roof maintenance, you can protect your home from water damage and avoid the costly repairs that come with a leaking roof. So, the next time you see a water stain on your ceiling, don’t ignore it—take action and keep your home safe and dry.
Cluster Pages
Related posts:
 First-Time Homebuyer’s Guide to Roofing: What You Need to Know
 Don’t Get Soaked! Signs You Need a Roof Replacement
 Discovering Elegance and Comfort: The Four Hands Lillian Chair
 How to Reface Kitchen Cabinets
 How to Hang Curtains on a Metal Door
 Easy DIY Door Maintenance Tips to Keep Your Doors Looking Great
 Troubleshooting Common Door Problems: A DIY Guide