If you’re planning to upgrade your kitchen and want to add a touch of natural elegance, wooden worktops are a fantastic option. Installing wooden worktops yourself can be a satisfying DIY project, and with the right preparation and tools, it can be done easily. In this step-by-step guide, we will walk you through the process of how to install wooden worktops yourself, from choosing the right wood to sealing your newly fitted surface.
1. Choose the Right Type of Wooden Worktop
Before starting your installation, you must choose the right type of wooden worktop. The most popular options are solid wood worktops such as oak, walnut, and beech, each offering a unique aesthetic for your kitchen. Oak is a timeless choice, while walnut offers a darker, richer look. Butcher block countertops are also a great option if you’re looking for durability combined with beauty.
The wood you choose should align with the overall style of your kitchen and your practical needs. If you’re not sure what to choose, oak worktops are often the go-to option for DIYers due to their robustness and ease of maintenance.
2. Measure and Plan the Installation
Proper planning is crucial for a smooth installation. Start by measuring the space where your wooden worktop will be fitted. Use a tape measure to get the exact dimensions of the area, and make sure to account for sink and appliance cut-outs.
Once you’ve measured your space, draw up a plan to decide how the worktop will fit. You might need to scribe the worktop to fit against irregular walls. Scribing involves transferring the wall’s angle onto the worktop and cutting it to fit perfectly. This is especially important when dealing with kitchens that have walls that aren’t perfectly straight.
3. Prepare the Worktop
Before installing your wooden benchtop, it’s important to prepare it properly. Most wooden worktops come pre-sanded and oiled, but you may want to sand the edges for a smoother finish. Cutting wooden worktops to size may also be necessary, especially if you need to make holes for a sink or hob. When cutting, always use a sharp circular saw or jigsaw to ensure clean, precise cuts.
For an easy and straight cut, use a wooden worktop template that outlines where to make the cuts. This step ensures that your worktop fits your kitchen perfectly.
4. Cut Out for Sinks and Appliances
If your installation includes cutting wooden worktops for a sink or other appliances, now is the time to make those cuts. Mark the area where your sink will go, and use a jigsaw to cut out the hole. Always check the measurements twice before making cuts, as it’s important that the sink fits securely within the worktop.
When cutting out for a sink, be sure to leave enough space around the edges for a secure fit. You can also purchase a butcher block worktop that already has a pre-cut sink hole, which can save you time.
5. Drill Holes for Fixings
To attach the wooden worktop to the cabinets, you’ll need to drill holes for fixings. Mark where your brackets or screws will go along the edges of the worktop, ensuring they align with the cabinets beneath. For a sturdy fit, use wood screws or brackets specifically designed for worktop installations.
Ensure that the screws are evenly spaced to prevent the worktop from warping. Once the holes are drilled, it’s time to place the worktop on the cabinets and secure it.
6. Fit the Wooden Worktop
This is the most exciting part – fitting the wood worktop! Position the worktop over your cabinets and ensure it sits flush against the wall and other surfaces. If your kitchen has any irregularities or angles, use the scribing technique to ensure the worktop fits perfectly.
Once in place, screw the worktop into the cabinets, ensuring the fit is secure. Use a clamp to hold the worktop in place while you screw it in, preventing any shifting during the installation.
7. Seal the Wooden Worktop
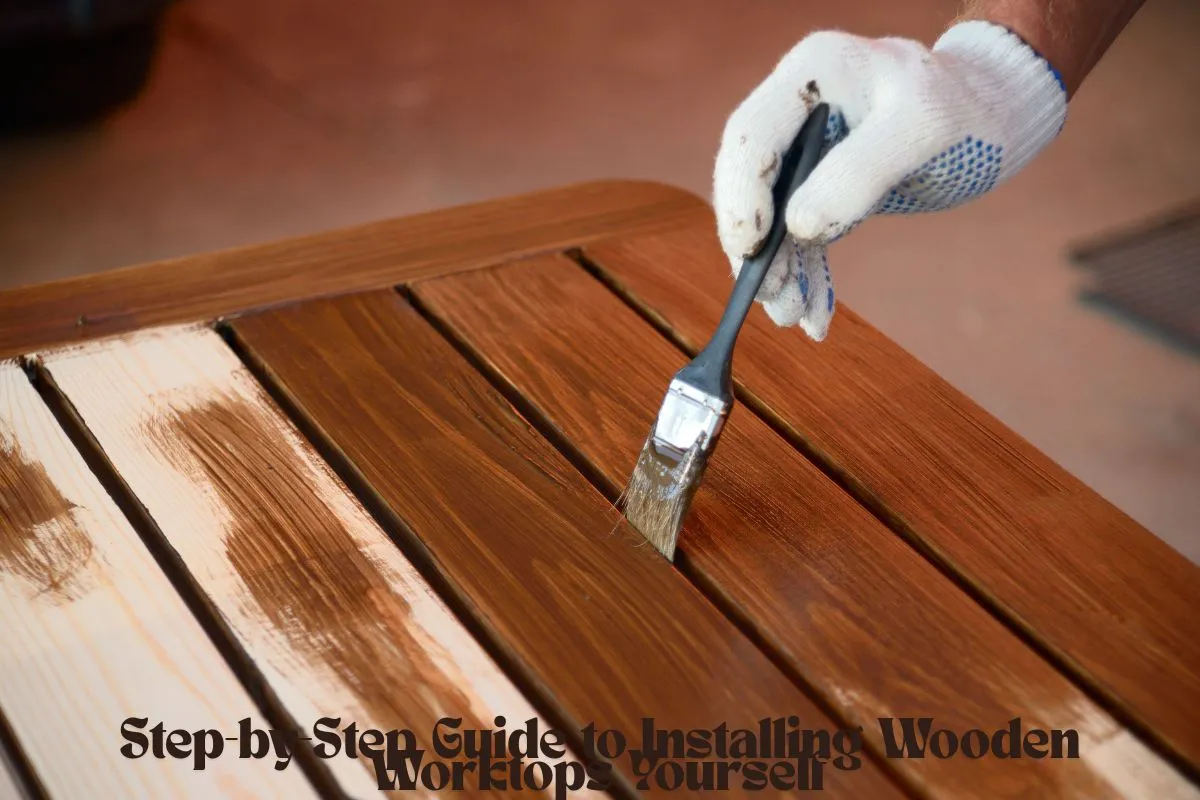
Once your solid wood worktop is in place, it’s important to seal it properly. Wood is porous, and sealing prevents damage from moisture, spills, and daily use. The best finishes for wooden worktops are oils, varnishes, or waxes. Oiling wooden worktops is the most common method, as it enhances the wood’s natural grain and provides a protective layer.
Start by applying a generous coat of worktop oil to the surface of the wood using a lint-free cloth. Be sure to apply oil in the direction of the grain for even coverage. Let the oil soak in for about 10-15 minutes, then wipe away any excess. Repeat the process for 2-3 coats until the surface feels smooth and protected.
8. Finishing Touches
After the oil has dried, you can add finishing touches to your worktop. Use a fine-grade sandpaper to smooth out any rough spots or edges. If you’ve cut wooden worktops to size or made modifications like sink holes, now is the time to seal the edges as well.
To further protect the worktop, consider applying a second coat of oil or finish after a few days to ensure long-lasting protection.
9. Maintain Your Wooden Worktop
Now that your worktop is installed and sealed, it’s important to maintain it regularly. Wooden worktops require regular oiling to maintain their finish and durability. Clean the surface regularly with a mild detergent, and always wipe up spills promptly to prevent any damage.
If you notice any scratches or dents over time, don’t worry! Repairing wooden worktops is simple. For minor scratches, use fine sandpaper to smooth the area, then reapply oil to restore the finish.
10. Enjoy Your New Wooden Worktop
Once installed, your wooden worktop will add a beautiful, natural touch to your kitchen. Whether you chose oak worktops, butcher block countertops, or another variety, your worktop is now a stunning centerpiece in your kitchen. The warmth and charm of wood combined with its practicality will undoubtedly enhance the overall look of your kitchen.
Final Thoughts on Installing Wooden Worktops
Installing wooden worktops yourself can be a rewarding project, and with the right tools, materials, and attention to detail, you’ll achieve professional-looking results. Whether you choose solid wood worktops, oak, or another wood type, your DIY worktop installation will give your kitchen a timeless, rustic charm. Follow this step-by-step guide and enjoy the beauty and functionality of your newly installed wooden worktops!
Related posts:
 Entertaining Essentials: Refrigerators for Hosting Guests
 How Many Quarts in a 9 x 13 Baking Pan?
 Top Online Cooking Communities for Home Cooks
 Safety First: Knife Handling Tips for Home Cooks
 Eco-Friendly Knives: Sustainable Options for Your Kitchen
 Faucet Installation: A DIY Guide
 Here Is How To Clean Your Stainless Steel Cookware Easily