Remodeling a camper interior is more than just a home improvement project—it’s an opportunity to create a personalized, functional, and stylish space that reflects your unique lifestyle. Whether you’re a full-time RVer or a weekend adventurer, transforming your camper can make it feel like a true home on wheels. In this guide, we’ll walk you through the process step by step, share budget-friendly tips, and provide inspiring ideas to help you remodel your camper interior like a pro.
Why Remodel Your Camper Interior?
Remodeling your camper interior offers numerous benefits:
- Personalization: Make your camper reflect your style and preferences.
- Functionality: Optimize the layout and storage to suit your needs.
- Comfort: Upgrade outdated fixtures and materials for a cozier living space.
- Increased Resale Value: A well-designed interior can boost your camper’s appeal if you decide to sell it.
When my partner and I decided to remodel our 20-year-old camper, we were amazed at how much of a difference it made. What started as a dated, cramped space became a bright, modern haven that we now love spending time in.

Step-by-Step Guide to Remodeling Your Camper Interior
1. Assess Your Needs and Set Goals
Before diving into the renovation, take time to assess your needs. Ask yourself:
- What do I dislike about the current interior?
- What features are most important to me (e.g., storage, comfort, aesthetics)?
- What’s my budget?
Setting clear goals will help you stay focused and avoid overspending.
2. Inspect for Damage
Thoroughly inspect your camper for any damage, such as water leaks, worn-out flooring, or malfunctioning appliances. Addressing these issues early will save you time and money later.
Pro Tip: Check for soft spots on the floor or walls, which could indicate water damage.
3. Plan Your Layout
Optimize your camper’s layout to maximize space and functionality. Consider:
- Multifunctional Furniture: Fold-out tables, convertible sofas, and Murphy beds can save space.
- Storage Solutions: Use under-bed storage, hanging organizers, and vertical shelving.
- Traffic Flow: Ensure there’s enough room to move around comfortably.
4. Define Your Style
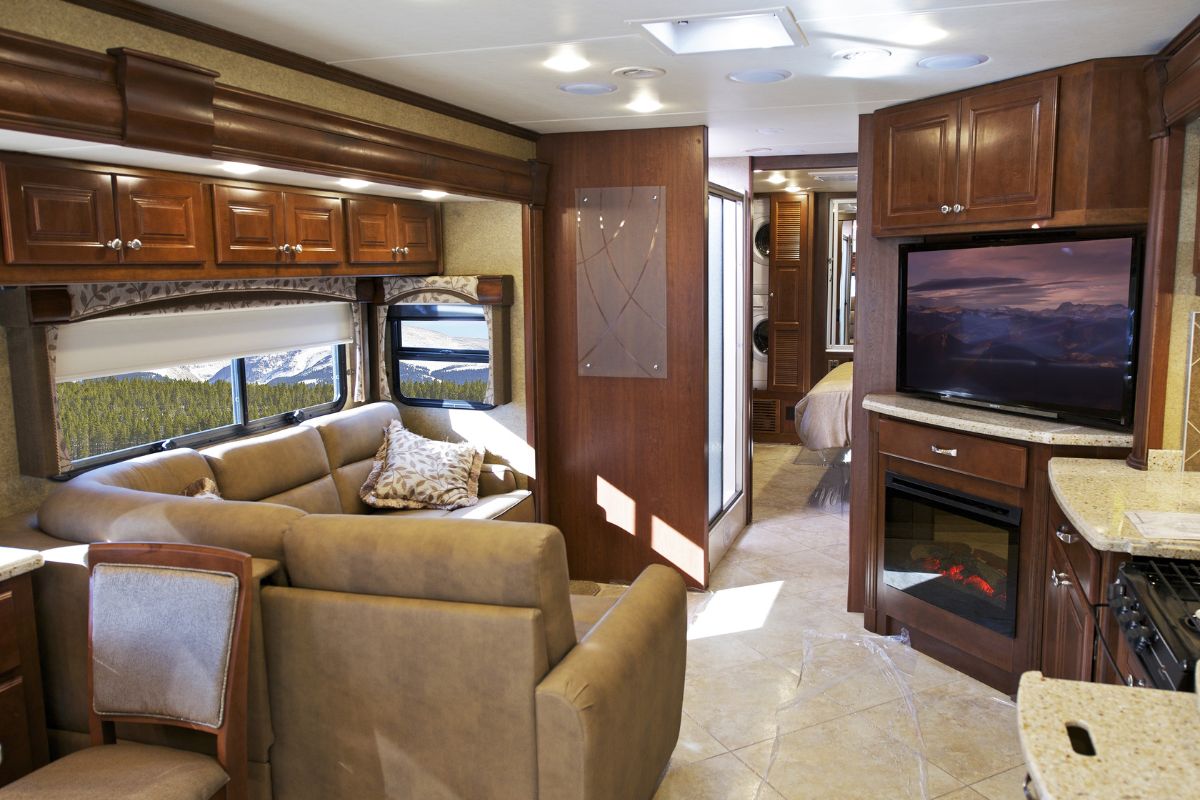
Choose a design aesthetic that reflects your personality. Popular camper styles include:
- Modern Minimalism: Clean lines, neutral colors, and sleek finishes.
- Rustic Farmhouse: Warm wood tones, vintage accents, and cozy textiles.
- Bohemian: Vibrant colors, eclectic patterns, and natural materials.
When we remodeled our camper, we went for a rustic farmhouse vibe with shiplap walls, reclaimed wood accents, and soft, neutral tones. It instantly made the space feel cozy and inviting.
5. Create a Budget
Establish a budget for your renovation, including materials, labor, and unexpected expenses. Prioritize essential upgrades and look for ways to save, such as DIY projects or secondhand finds.
Pro Tip: Allocate 10-20% of your budget for contingencies.
6. Gather Inspiration
Browse platforms like Pinterest, Instagram, and camper renovation blogs for ideas. Save photos of interiors you love and use them as a reference for your project.
7. Shop for Materials
Research and purchase materials like paint, flooring, hardware, and decor. Look for budget-friendly options without compromising quality.
Pro Tip: Peel-and-stick wallpaper is an easy and affordable way to add personality to your walls.
8. Make Necessary Repairs
Address any structural or mechanical issues before starting cosmetic upgrades. Replace damaged flooring, fix leaks, and repair appliances to ensure your camper is in good condition.
9. Prepare Surfaces
Clean and prepare surfaces for painting or refinishing. Sand and prime cabinets, walls, and other surfaces to ensure a smooth finish.
10. Paint and Refinish
Apply paint, stain, or finish to surfaces according to your chosen color scheme. Light colors can make small spaces feel larger, while bold accents add personality.
11. Upgrade Fixtures and Hardware
Replace outdated fixtures, hardware, and lighting with modern, energy-efficient options. Consider space-saving designs and LED lighting for better functionality.
12. Add Personal Touches
Incorporate decorative accents like throw pillows, rugs, and wall art to make the space feel like home.
13. Optimize Storage
Maximize storage with creative solutions like under-bed bins, hanging organizers, and collapsible furniture.
14. Enhance Comfort
Invest in quality mattresses, bedding, and seating for a more comfortable living experience.
15. Final Touches
Arrange furniture, style surfaces, and add finishing touches to complete your remodel.
Budget-Friendly Remodeling Tips
Remodeling a camper doesn’t have to break the bank. Here are some cost-saving ideas:
1. DIY Projects
Tackle tasks like painting, sewing curtains, and refinishing furniture yourself to save on labor costs.
2. Shop Secondhand
Look for affordable furniture and decor at thrift stores, flea markets, and online marketplaces.
3. Upcycle Materials
Repurpose salvaged materials like reclaimed wood or vintage fixtures for a unique, budget-friendly look.
4. Comparison Shop
Research prices and compare options to get the best deals on materials and supplies.
5. Prioritize Essentials
Focus your spending on upgrades that will have the biggest impact, such as flooring and seating.
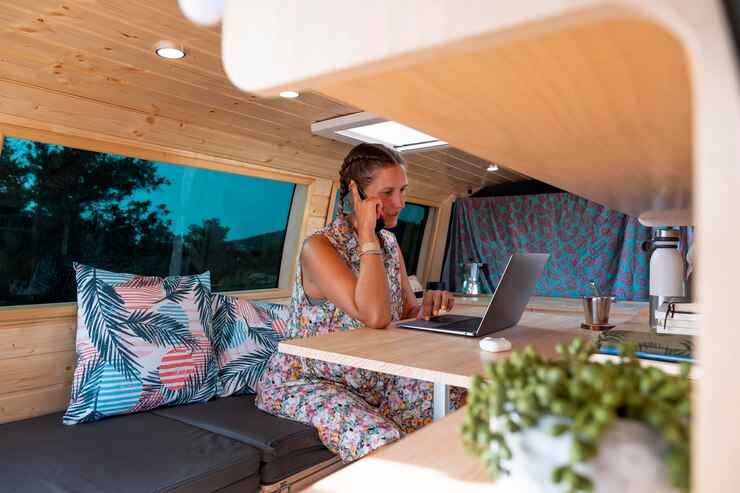
Small Camper Renovation Ideas
If you’re working with a small space, these ideas can help you make the most of it:
- Space-Saving Furniture: Use fold-out tables, convertible sofas, and wall-mounted storage.
- Compact Appliances: Choose RV-specific appliances to save space and energy.
- Vertical Storage: Install overhead cabinets and hanging organizers.
- Light Colors: Use light and neutral tones to make the space feel larger.
- Mirrors: Strategically place mirrors to reflect light and create the illusion of more space.
Before and After: The Transformation
Remodeling a camper interior can completely transform the space. Here’s what you can expect:
Before:
- Dated decor and fixtures
- Limited storage
- Worn-out flooring and upholstery
- Inefficient layout
After:
- Modern and stylish interior
- Optimized storage solutions
- Fresh flooring and upholstery
- Functional and comfortable layout
- Personalized decor
Cost Breakdown
The cost of remodeling a camper interior varies depending on the size of the RV and the extent of renovations. Here’s a rough estimate:
- Materials and Supplies: 500–5,000
- Labor: 20–100 per hour (if hiring professionals)
- Furniture and Fixtures: 200–2,000
- Upgrades and Additions: 500–3,000
- Contingency Fund: 10–20% of your total budget
Final Thoughts
Remodeling a camper interior is a rewarding project that can transform your mobile living space into a cozy, functional, and stylish home. By following these steps and tips, you can create a camper that reflects your personality and meets your needs.
As you embark on your renovation journey, remember to stay flexible and enjoy the process. With a little creativity and effort, you’ll have a camper interior that you’ll love for years to come.