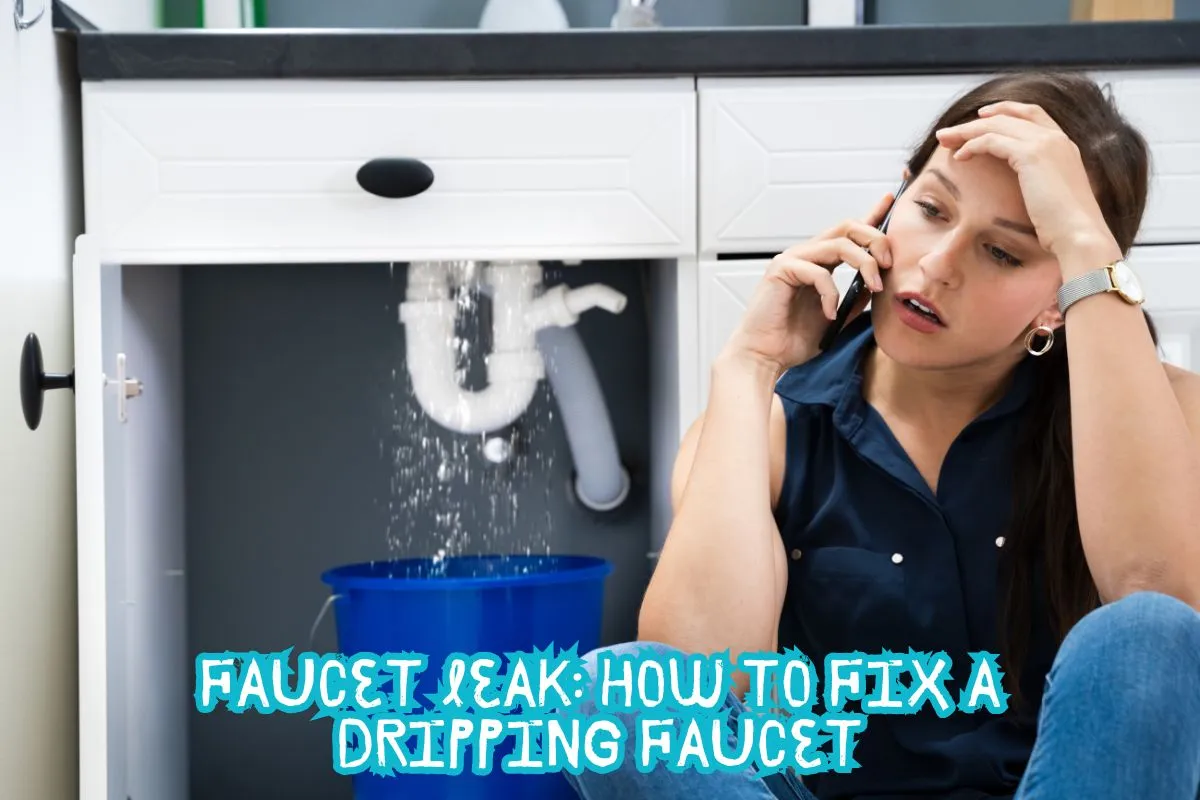
A dripping faucet might seem like a minor annoyance, but it can waste gallons of water and increase your water bill. The good news? It’s often an easy fix! Whether you’re a first-time DIYer or someone with a bit more experience, fixing a leaky faucet is a manageable task. Let’s break down how to repair that drip and save water, money, and your sanity.
Understanding the Basics of a Leaky Faucet
Before diving into the repair process, it’s essential to understand why faucets leak. Typically, leaks occur because the internal components, like washers, seals, or O-rings, wear out over time. Faucets are one of the most frequently used fixtures in any household, and this constant use can eventually lead to drips.
Common Causes of Faucet Leaks
- Worn-out washers: Over time, the rubber washers in the faucet wear down due to friction, causing water to leak.
- O-ring damage: The O-ring is a small disc that helps keep the handle of a faucet in place. If damaged, it can cause leakage near the faucet handle.
- Corroded valve seat: The valve seat connects the faucet and the spout. Sediment build-up can corrode this seat, leading to leaks.
As Bob Vila, a home improvement expert, says, “A dripping faucet can waste water and be a nuisance. Fortunately, fixing a leaky faucet is often a simple DIY project.”
Step-by-Step Guide to Fixing a Dripping Faucet
Let’s walk through the steps to stop that persistent drip. This guide assumes you’re working with a compression faucet, one of the most common types.
Tools You’ll Need
- Adjustable wrench
- Screwdriver (flat-head and Phillips)
- Replacement washers, O-rings, or faucet repair kit
- Plumber’s tape (optional)
Pro tip: Before starting, lay a towel in the sink to catch any small parts that might fall during the repair.
1. Turn Off the Water Supply
The first and most crucial step is to turn off the water supply. Look under the sink for two valves—one for hot water and one for cold—and turn them clockwise. This prevents water from spilling out when you disassemble the faucet.
Once the water is off, turn on the faucet to release any water still in the pipes.
2. Disassemble the Faucet
Using a screwdriver, carefully remove the handle of the faucet. You may need to pry off the decorative cap to access the screws.
Next, use an adjustable wrench to loosen the nut that holds the stem in place. Once the nut is off, you can remove the stem from the faucet.
At this point, you should see a small washer or O-ring at the bottom of the stem. This is likely the culprit behind the leak.
Joanna Gaines, a home decor expert, notes, “A leaky faucet can be a real eyesore. Fixing it is a quick and easy way to improve the appearance and functionality of your kitchen or bathroom.”
3. Inspect the Washer and O-Ring
Inspect the washer and O-ring for signs of wear and tear. If they appear worn, cracked, or misshapen, it’s time to replace them. Bring the old parts to a hardware store to ensure you buy the right replacements.
As Tom Silva, a plumbing expert, advises, “Most faucet leaks can be fixed with a simple repair kit. However, if you’re unsure about the cause of the leak or if it’s a more serious issue, it’s best to consult a professional plumber.”
4. Replace the Washer or O-Ring
Once you have the new parts, install the replacement washer or O-ring onto the faucet stem. Make sure everything is fitted snugly and properly aligned.
At this point, you might want to wrap the threads of the faucet stem with the plumber’s tape to ensure a tight seal.
5. Reassemble the Faucet
Reinsert the stem into the faucet, tighten the nut with your adjustable wrench and screw the handle back on. Ensure everything is secure but not over-tightened, as this could damage the faucet parts.
6. Turn the Water Supply Back On
Slowly turn the water supply back on and test the faucet. If everything is done correctly, the drip should be gone, and your faucet will be good as new.
As This Old House emphasizes, “A leaky faucet can waste hundreds of gallons of water each year. By fixing it, you can save money on your water bill and help the environment.”
Personal Experience: My First Faucet Fix
The first time I fixed a dripping faucet, I’ll admit, I was nervous. I’d watched a few tutorials online but wasn’t confident in my DIY skills. My bathroom sink had been dripping for weeks, and the sound was driving me crazy. Armed with a wrench and screwdriver, I followed the steps just like I’ve outlined here.
When I turned the water back on and saw that the drip was gone, I felt a sense of accomplishment. I was amazed that such a small repair made such a big difference, not just in stopping the annoying sound but also knowing I wasn’t wasting water anymore.
Unique Insights: Why You Shouldn’t Ignore a Dripping Faucet
1. Water Waste
A small drip might not seem like a big deal, but it adds up. According to Home Improvement Expert Bob Vila, a leaky faucet can waste up to 3,000 gallons of water per year. That’s equivalent to over 180 showers!
2. Higher Water Bills
All that wasted water doesn’t just disappear—it shows up on your utility bill. Fixing a simple faucet leak can result in significant savings over time.
3. Potential for Bigger Problems
A leaky faucet might be a sign of a more serious plumbing issue. Ignoring the problem can lead to corrosion, rust, or even mold growth around the sink area, which can be more expensive to fix later.
As Lowe’s suggests, “Our website offers step-by-step instructions and tutorials on how to fix a leaky faucet. With the right tools and a little know-how, you can do it yourself.”
When to Call a Professional
While most faucet leaks can be fixed with basic tools and replacement parts, there are times when it’s best to call a professional plumber. For example, if:
- The leak persists after replacing washers or O-rings.
- The faucet is very old or in poor condition.
- There is damage to the valve seat or other internal components.
As Tom Silva advises, “If you’re unsure about the cause of the leak or if it’s a more serious issue, it’s best to consult a professional plumber.”
Conclusion
Fixing a dripping faucet is one of the easiest DIY projects you can tackle as a homeowner. With the right tools and a little patience, you can save water, reduce your utility bills, and avoid the annoyance of a constant drip. Plus, the sense of accomplishment you’ll feel once it’s done is priceless!
Ana White, a DIY enthusiast, says, “Fixing a leaky faucet is a great DIY project for beginners. With the right tools and a little patience, you can do it yourself.” So go ahead—grab your wrench and get to work!
Related posts:
 Chill Out: Choosing the Perfect Refrigerator for Your Kitchen
 Knife Skills 101: Essential Techniques for Every Home Cook
 Professional Chef Secrets: Must-Have Knives for Home Cooks
 Knife Myths Debunked: Separating Fact from Fiction
 How to Brighten the Display on Your KitchenAid KGRS807SSS00 Oven
 Double Bin Kitchen: A Practical and Stylish Solution for Modern Homes
 Cheap Kitchen Worktops Seconds: Stylish on a Budget